
Self Bailing Scupper Plugs
Do you own a sit-on-top kayak and want to keep water out while letting water drain out after a wave hits you or your paddle drips water in the cockpit? Check out my fairly elegant solution to create some self-bailing scupper plugs for my Emotion Stealth Angler 11 fishing kayak.
I would first like to give a little credit for the kernel of this idea to DIY Fishing. He has a simpler solution for anyone who has scuppers with a decent amount of vertical material to hold the scupper in place. Check out his video on that DIY scupper plug solution.
My solution uses a similar PVC reducer bushing, but I wanted something that would be sturdier. I also think the nylon mesh he uses would get pretty gummed up with debris (such as duckweed) in some of the places I paddle. He also mentions that you want your super ball to sink, which I don’t think is correct. I think you do want the ball you use to be pushed up to seal the plug, and that will happen more easily if it floats. The weight of any water in your cockpit will push the ball back down so it will drain back out.
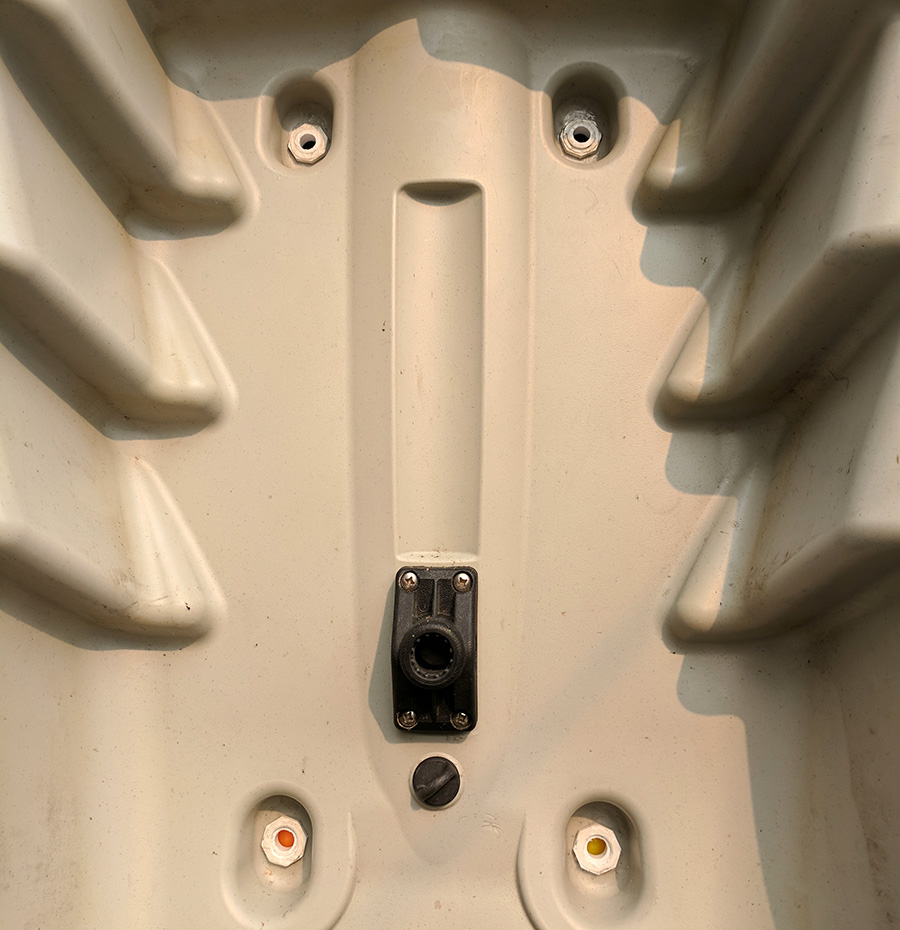
It should also be noted that my kayak has a unique scupper style. There are wells on the top and bottom, but the half inch holes are actually molded into a thin layer of plastic (about 3/16″). If the vertical surfaces of your scupper holes are more than an inch in depth, this solution may not work for you.
Supply List
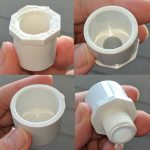
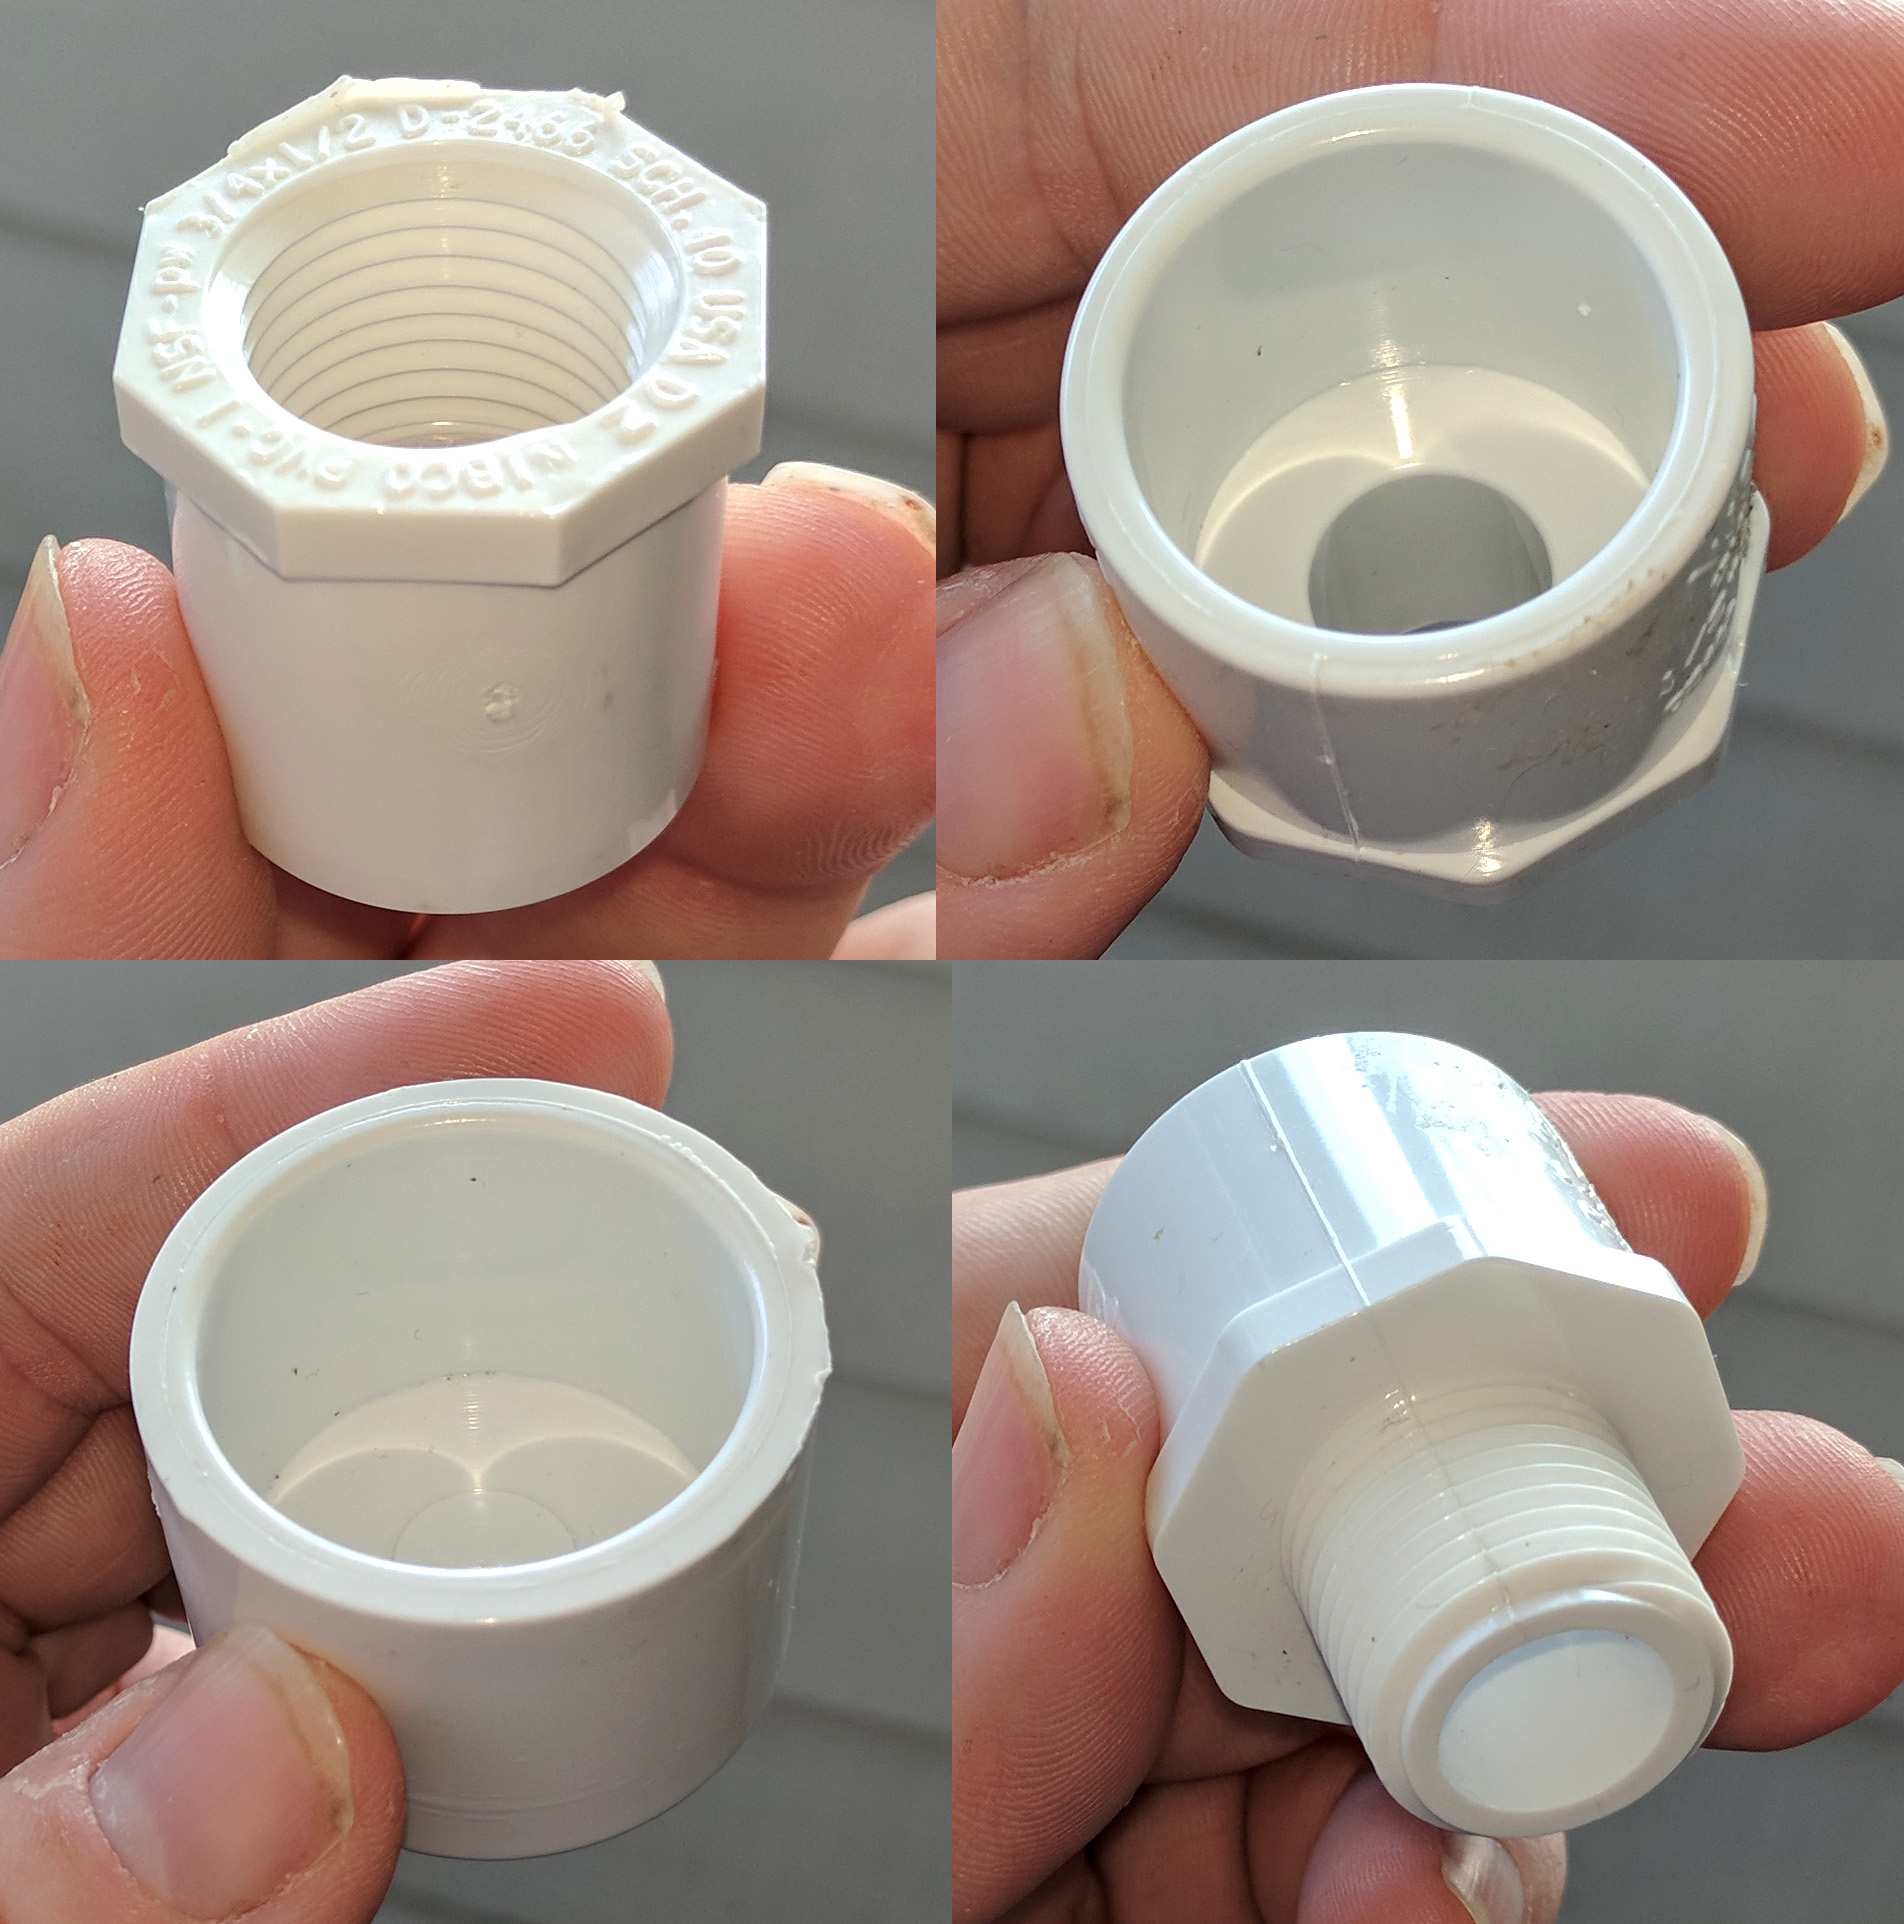
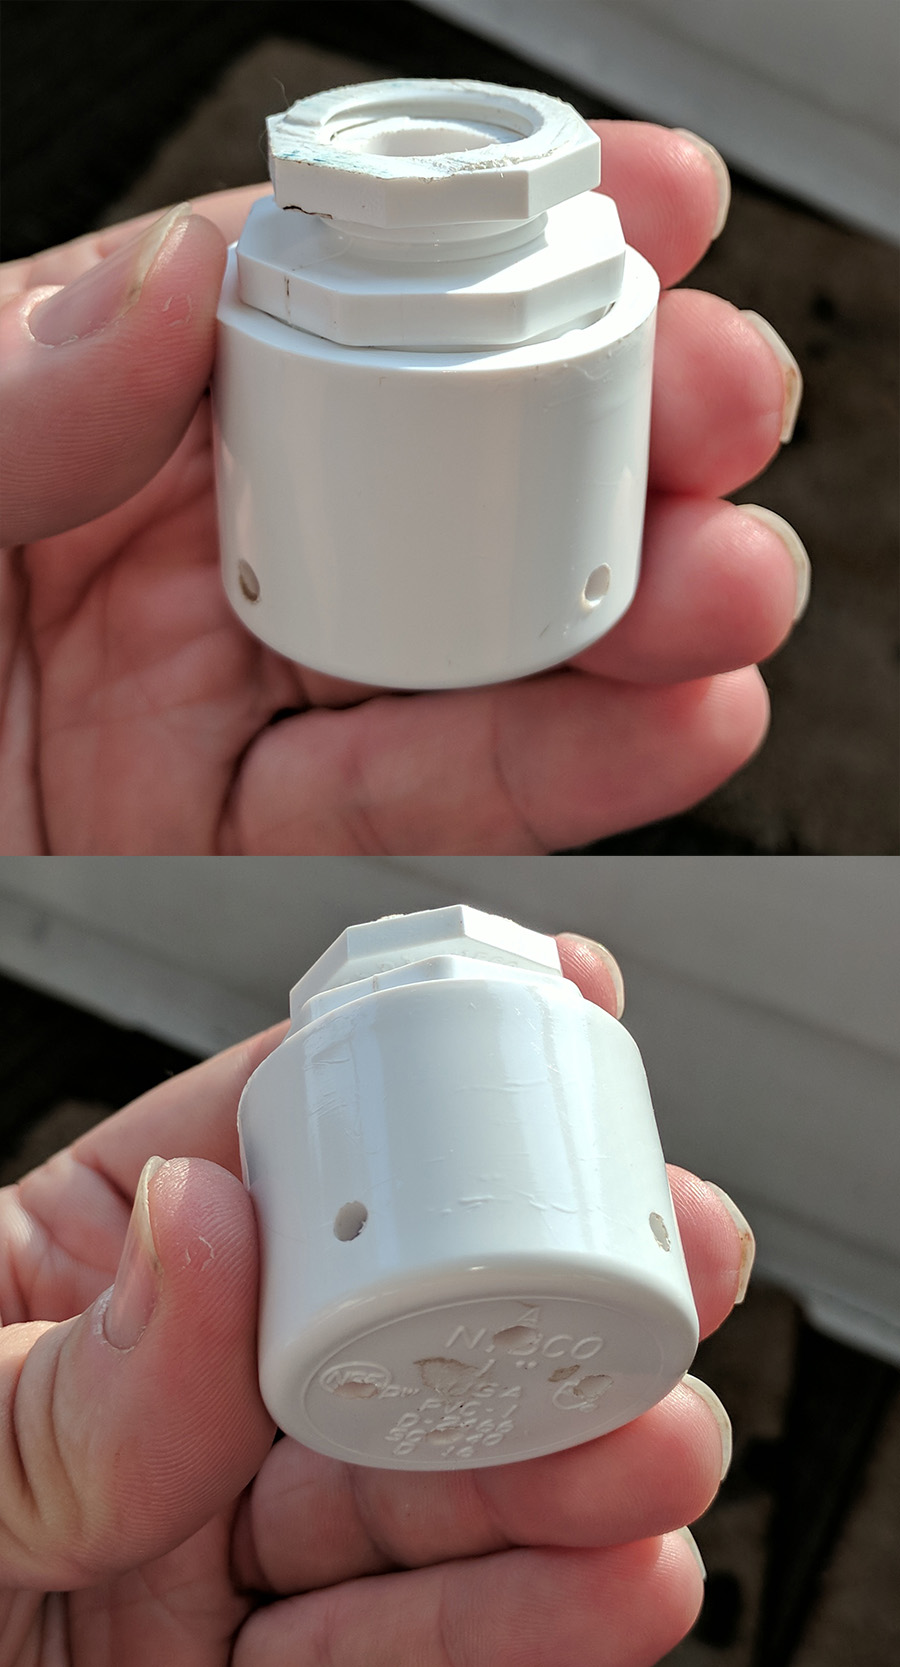
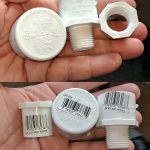 Nibco Schedule 40 PVC Bushing 3/4″ to 1/2″ – UPC 039923134363 – you can use any size that fits your boat – the smaller dimension of this bushing should match the diameter of your scuppers. The outer dimension is actually irrelevant for this piece.
- Nibco Schedule 40 PVC Male Adapter 1/2″ to 3/4″ – UPC 039923131683 – again, use any size that matches your boat. The smaller dimension should match the diameter of your scuppers, while the larger dimension should be slightly larger than the balls you plan to use. Most balls are just under 3/4″ in diameter. The ones I used are that size, so 3/4″ was the right dimension for this adapter.
- Nibco Schedule 40 PVC Socket Cap 1″ – UPC 039923136824 – the size of this cap will be the next size up from the larger dimension for the male adapter. If you end up using a 1″ ball, you’d need the 1″ adapter and 1.25″ socket cap, for example.

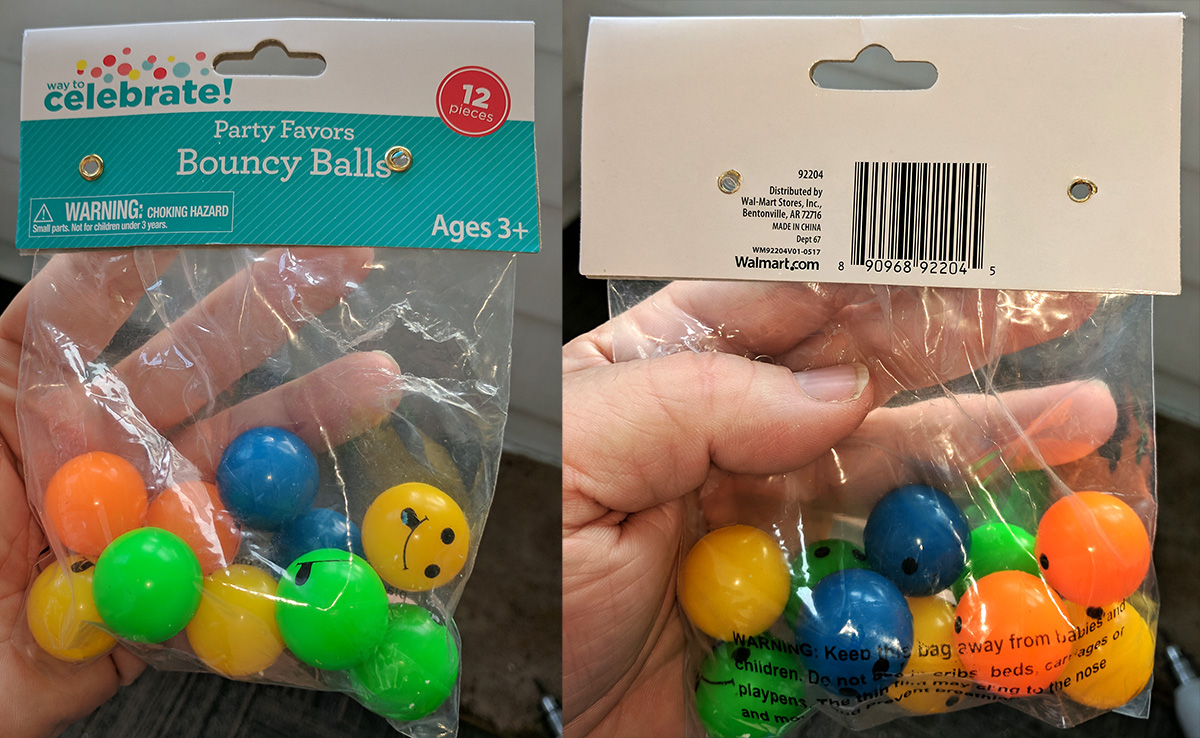
 Super balls – I used 3/4″ bouncy balls from Wal-Mart, UPC 890968922045. These float as I recommended above.
- Aqua Seal or other silicone marine sealant.


Tools Needed
- Razor blade holder with blade
- Rubber mallet or hammer
- Hacksaw, coping saw, or Dremel
- Drill with 1/16″ or larger bit
- Adjustable crescent wrench or pliers (either needs to be able to open about an inch)
Making the Self-Bailing Scupper Plugs
Step 1: Remove barcode labels from your PVC items. Don’t worry about removing adhesive residue, as this helps keep the assembly together later on.
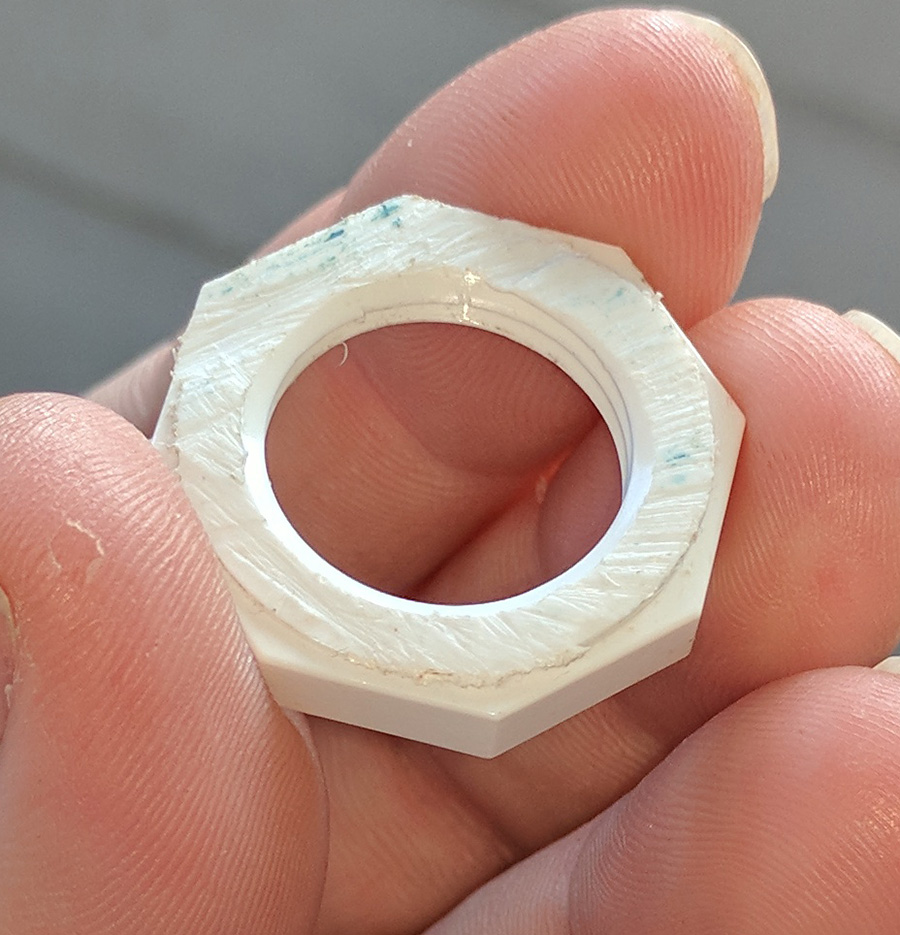 Step 2: Cut the bushing down with your hacksaw, coping saw, or Dremel so that only the octagonal head is left. It still has enough threads on the inside.
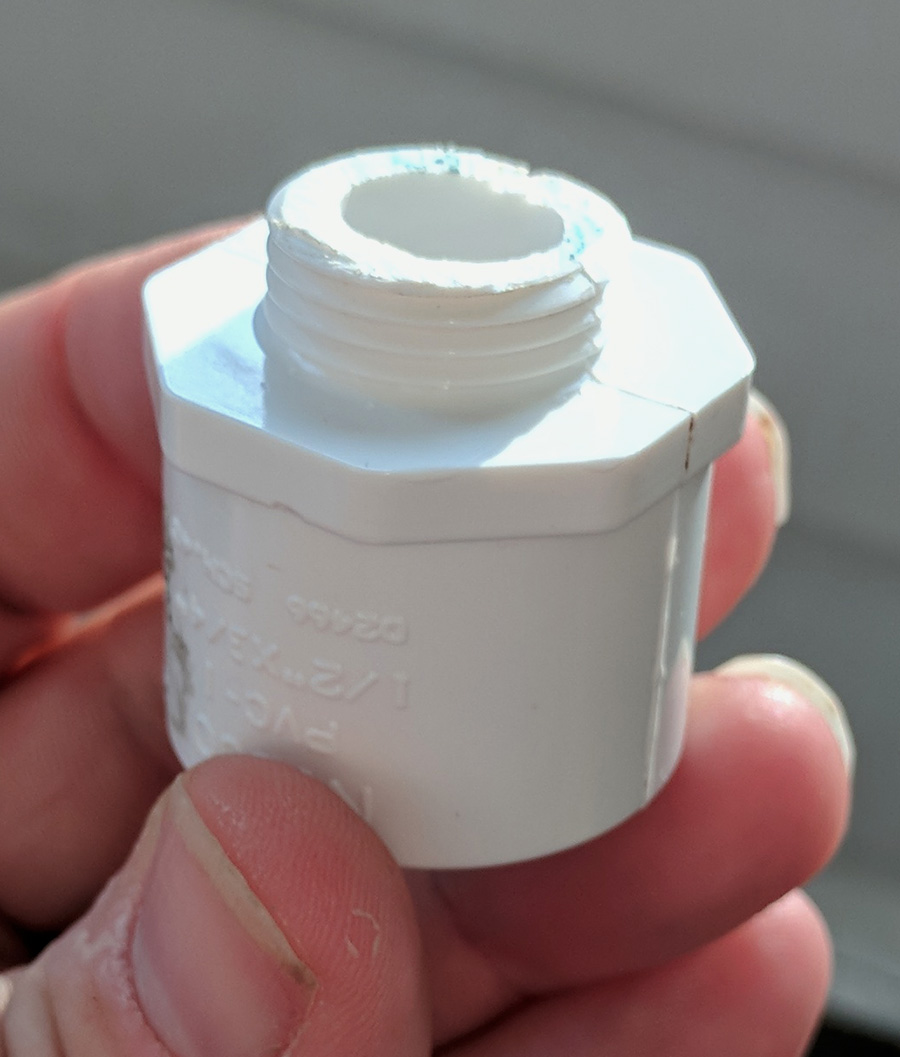 Step 3: Cut the threads down on the male adapter to about half an inch with a saw or Dremel. If the vertical part of your scupper is thicker than mine, you will cut less off (or not cut any off at all). You may need to find a male adapter with a much longer set of threads on it depending on how your scuppers are shaped. Err on the side of making this too long instead of too short. I had to redo this step on a couple plugs because I didn’t allow enough thread to start the bushing nuts. You can trim the excess later with a coping saw, sandpaper, or Dremel.
Step 4: Shave off any material on the outer edge of the thick part of the male adapter if necessary. The ones I bought had little tabs that needed to be removed. I used a Dremel for this.
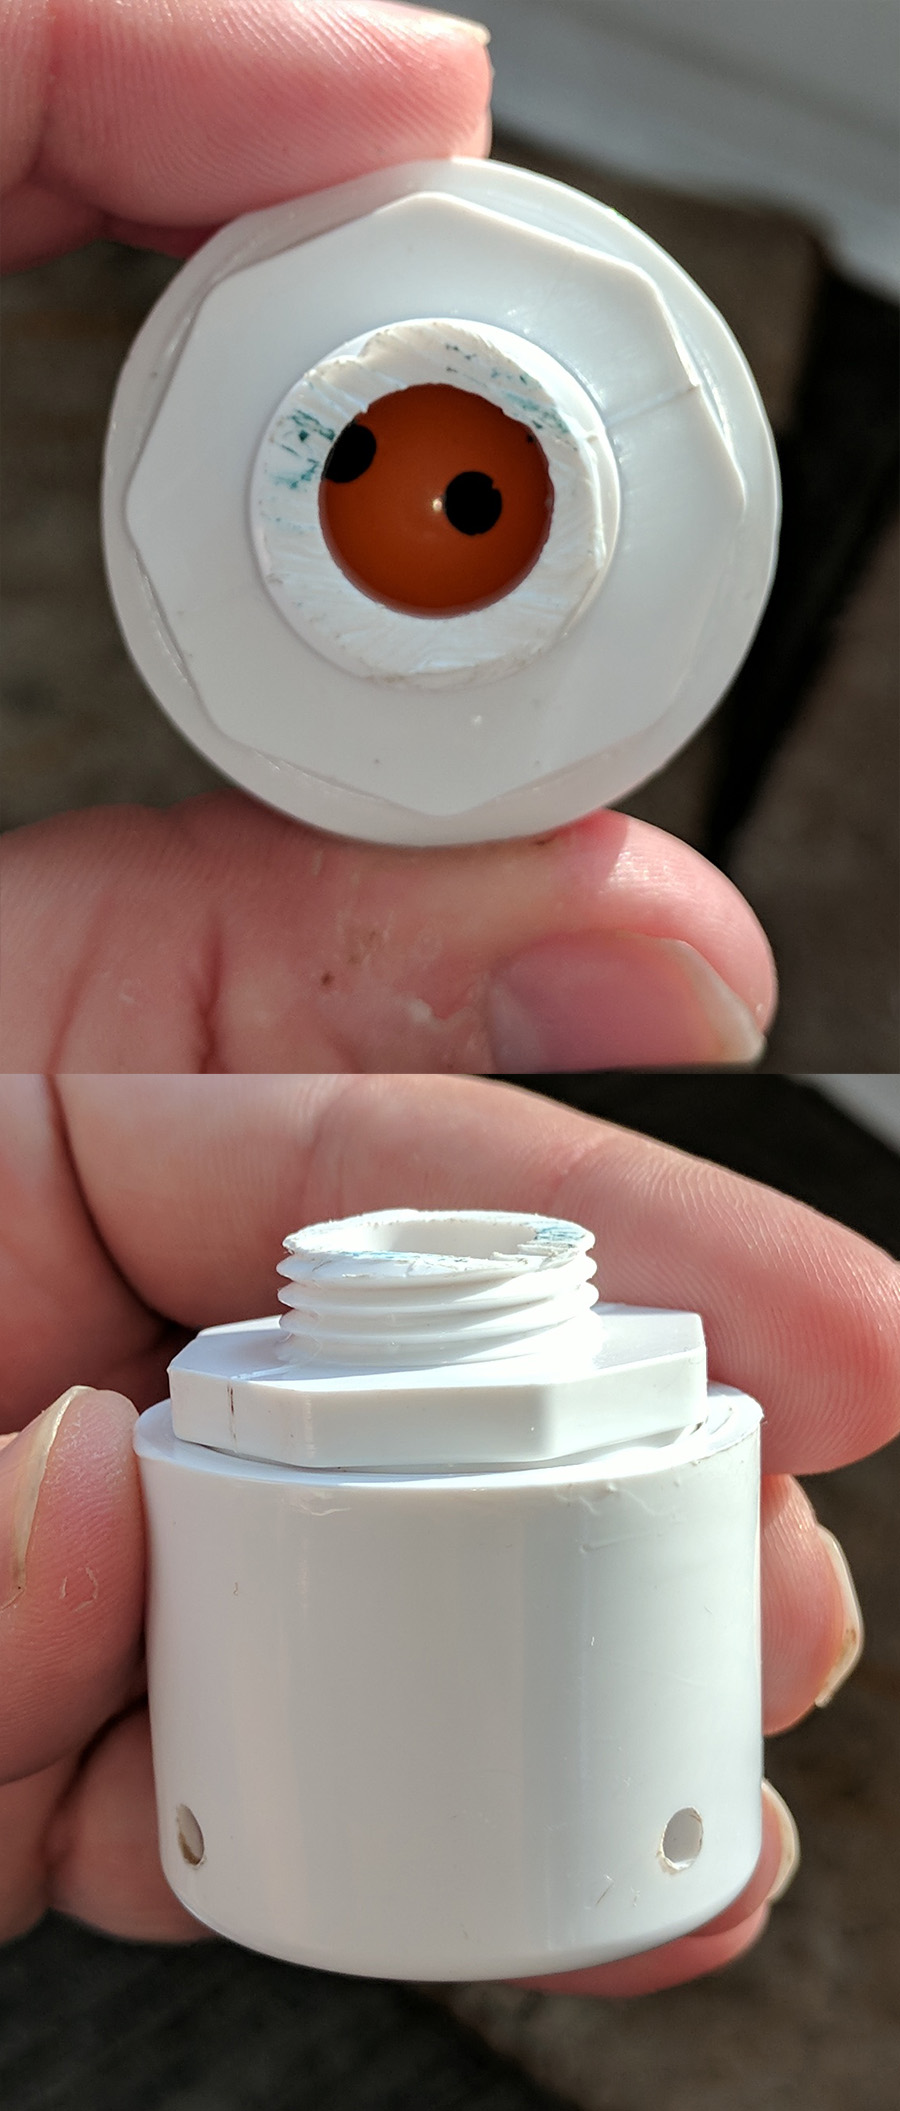
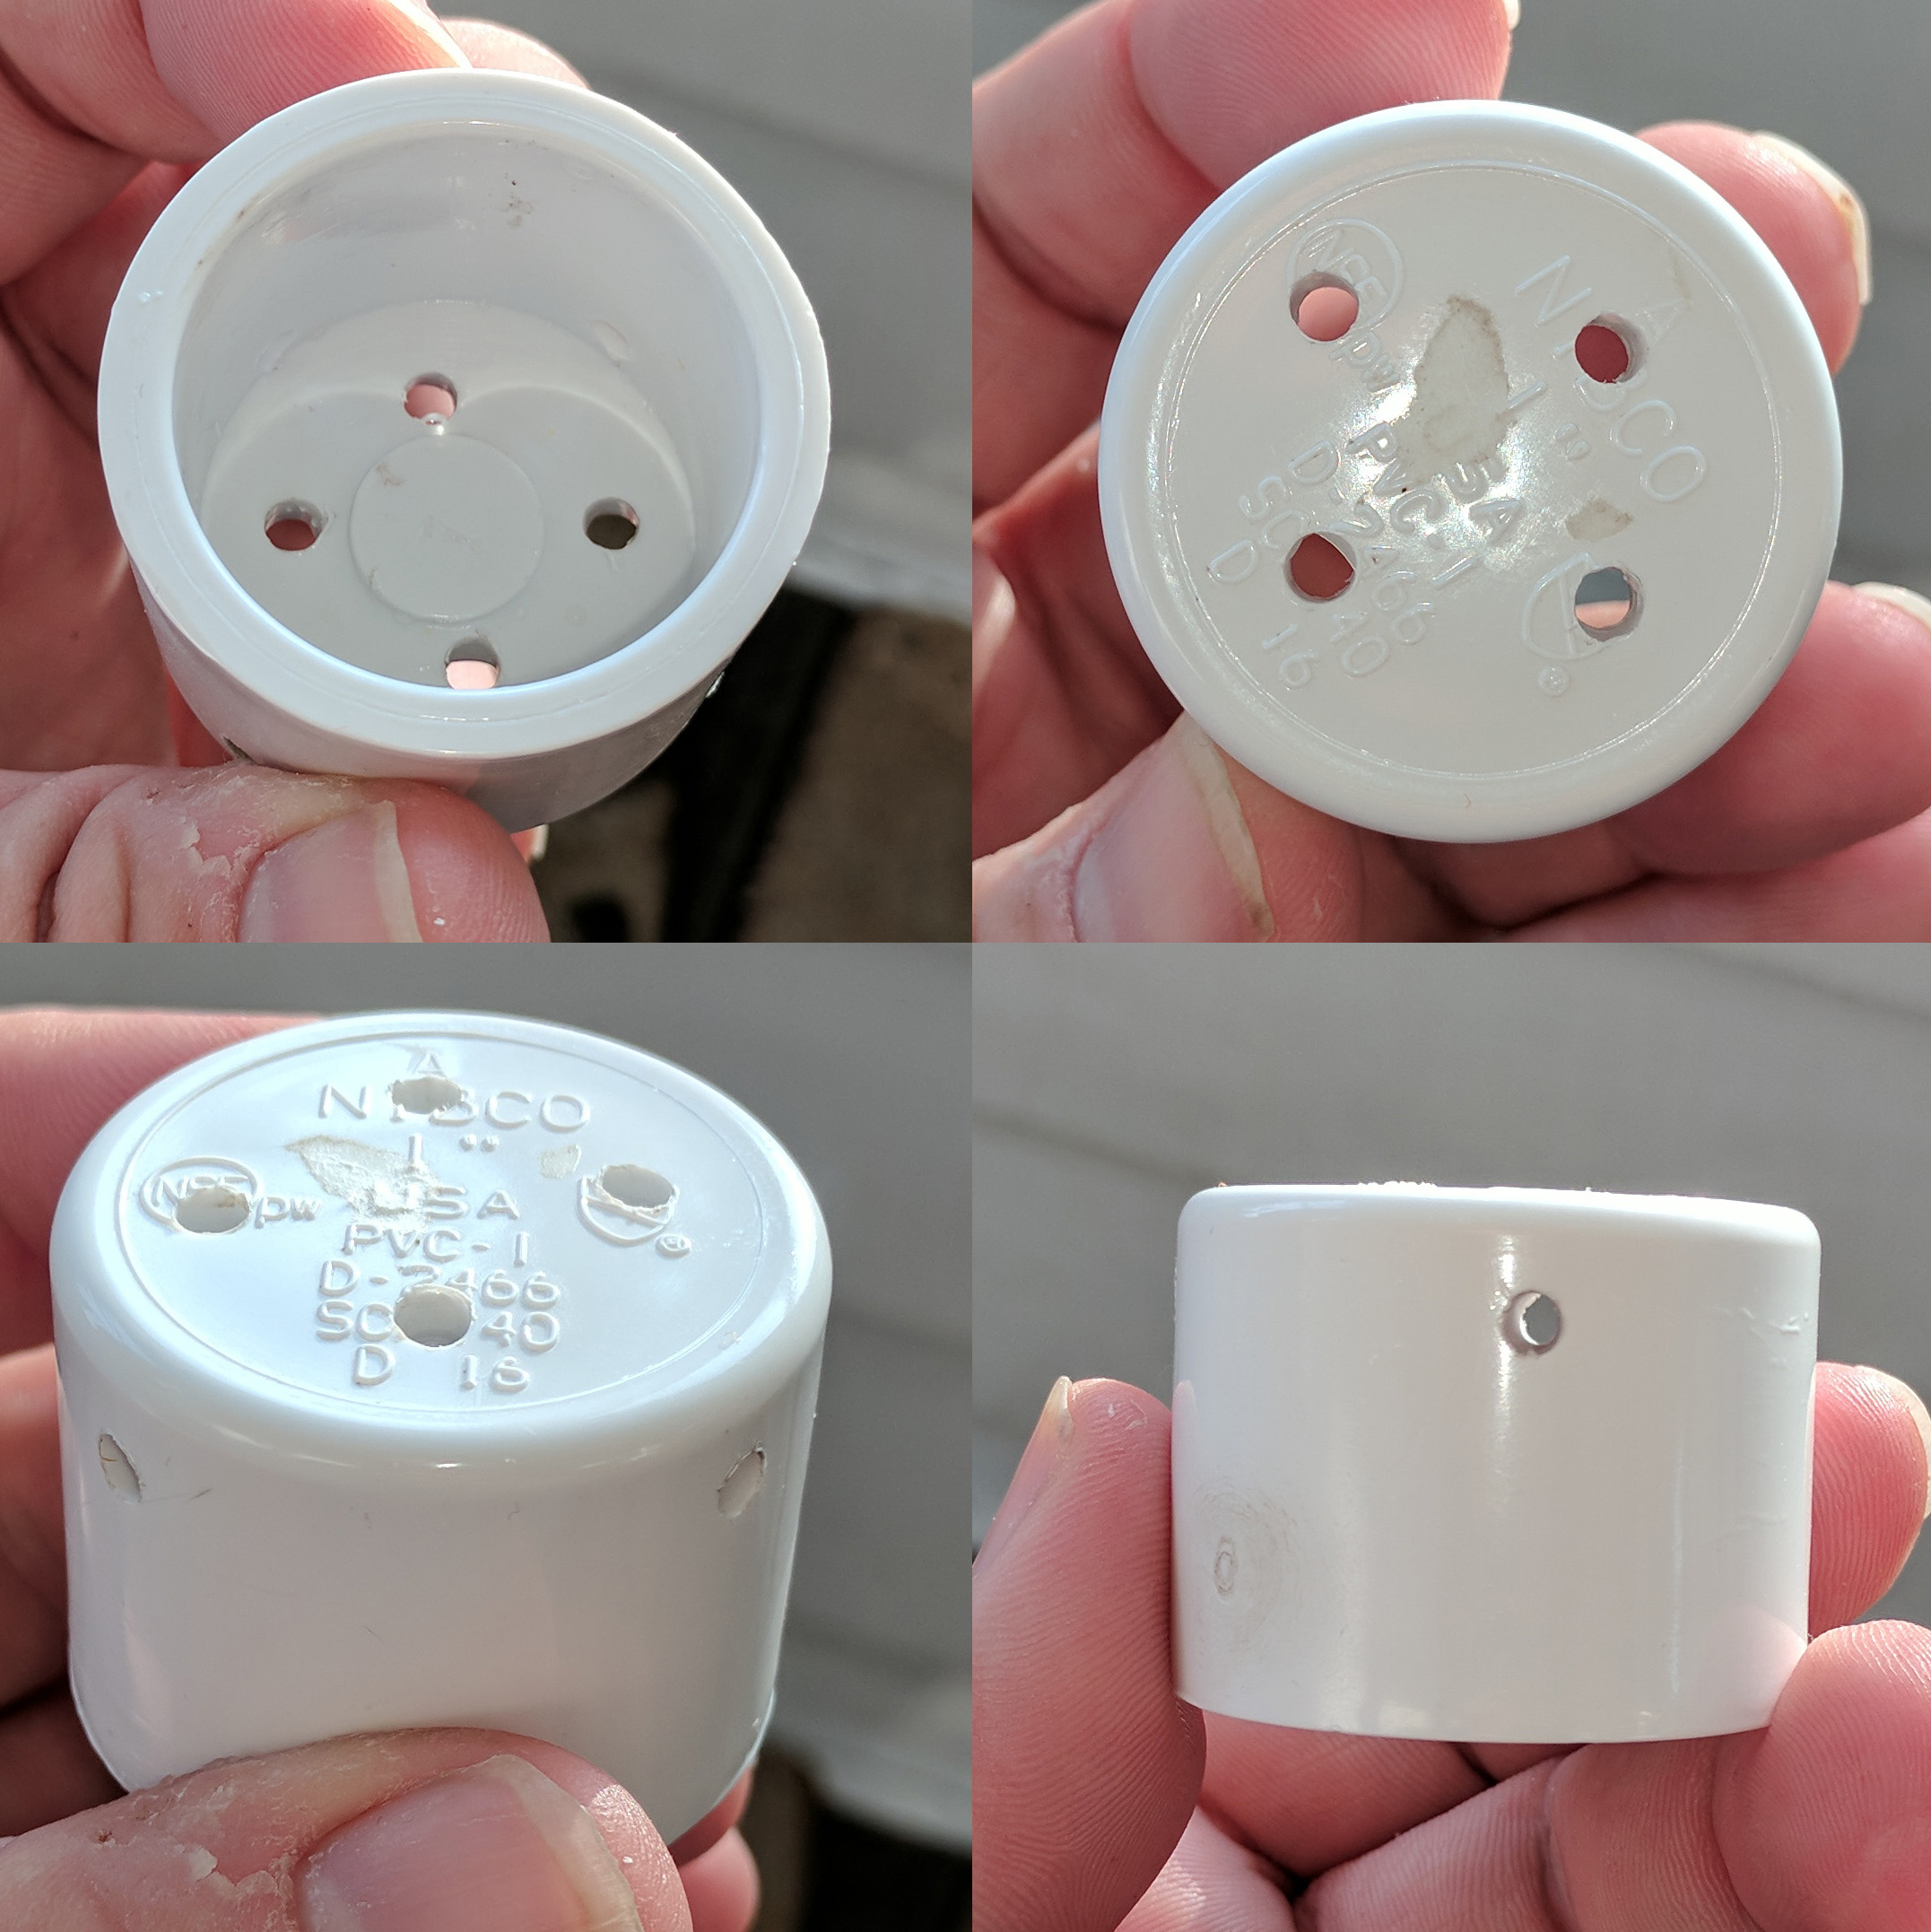 Step 5: Drill about 4 holes in the top of the socket cap and four more about 1/16 inch from the top along the sides. I staggered mine to hopefully create a smaller chance that all holes become plugged with debris, mud, etc.
 Step 6: Use a Dremel to shave some of the material off two sides of the socket cap if needed. I needed to do this so the whole assembly would fit inside the scupper channel underneath the kayak.
Step 7: Use your razor blade to trip any burrs or excess material, paying careful attention to cleaning up the threads on the bushing and male adapter.
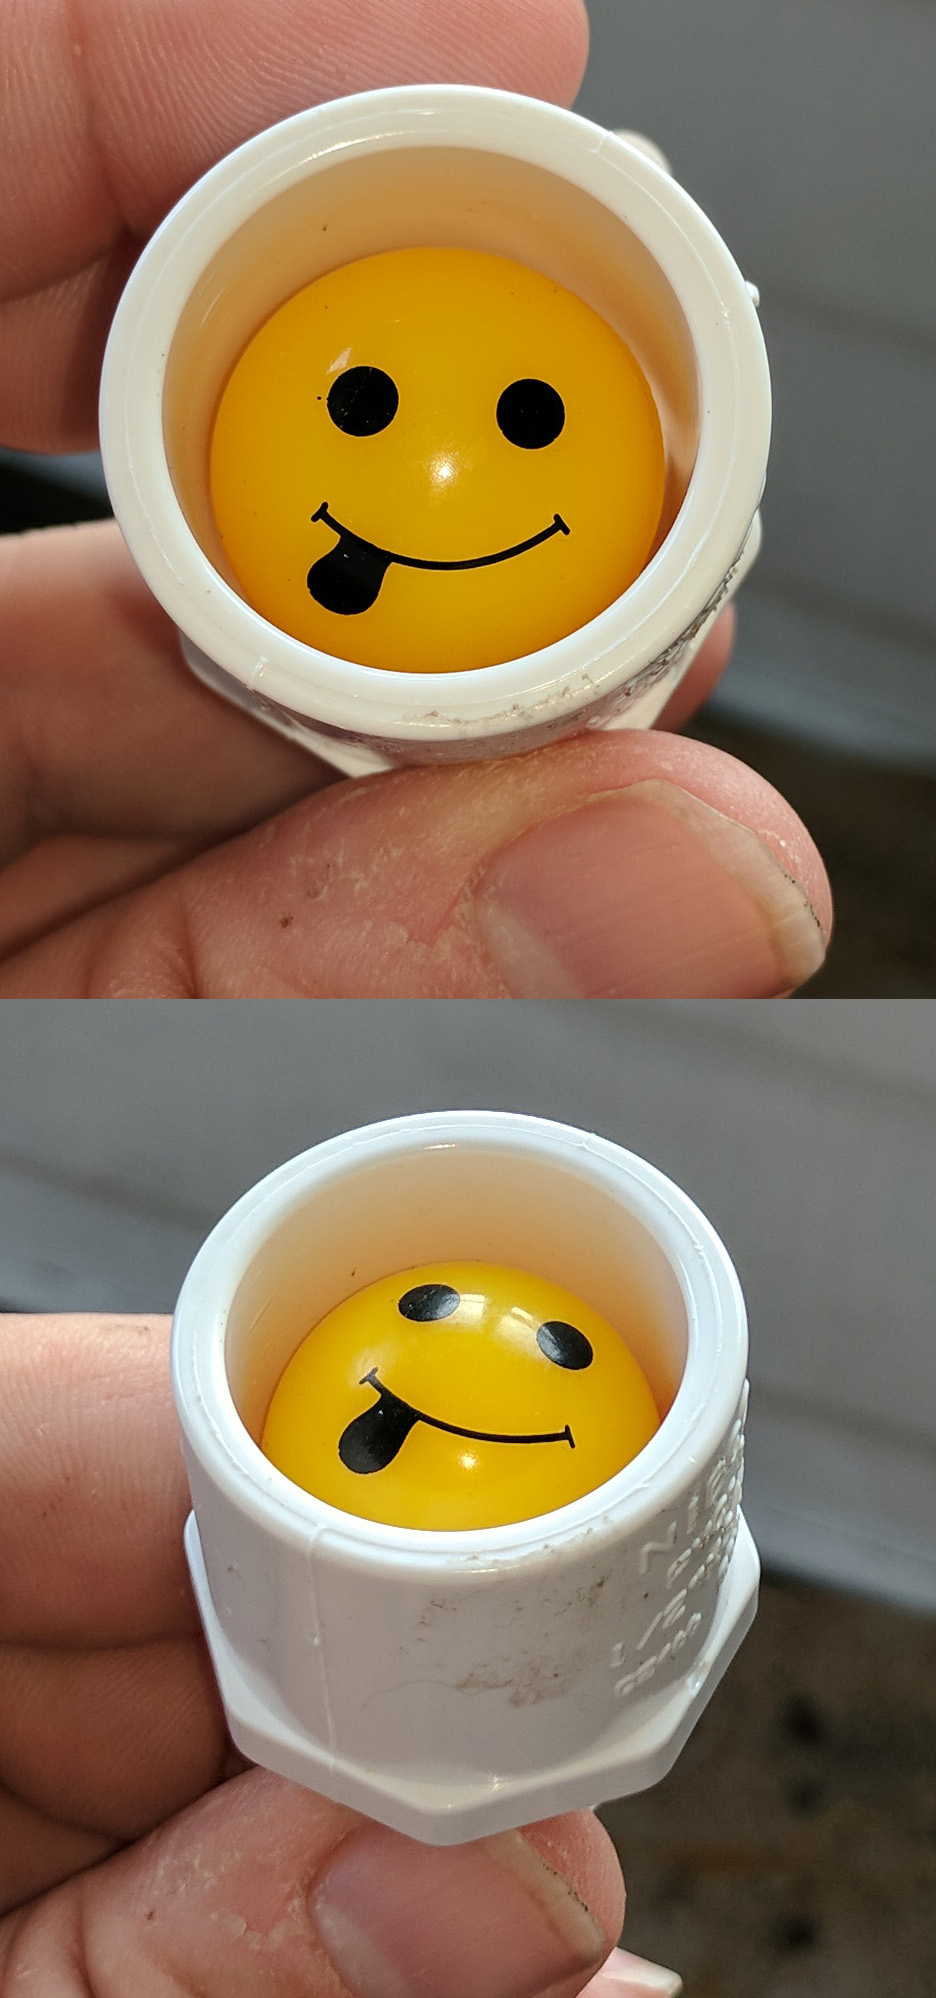
Step 8: Insert your bouncy ball into the male adapter.
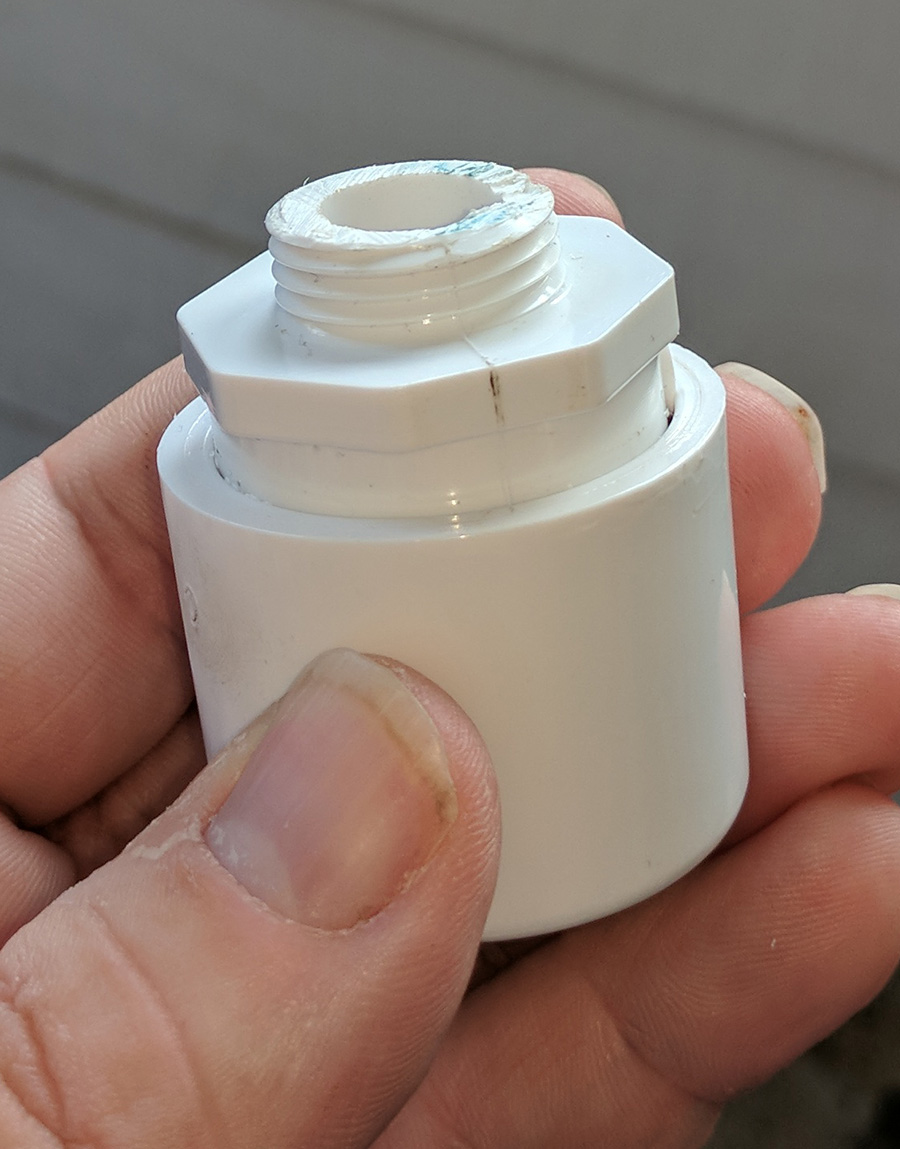
 Step 9: Push the socket cap onto the smooth end of the male adapter. This requires some force to get the socket cap to seat all the way onto the male adapter. Use a mallet or hammer if necessary. There is no need for any adhesive, as these socket caps are designed to be tight on the adapter.
 Step 10: Check that the threads on the bushing nuts you created screw onto the threads on the male adapters without too much difficulty. If the nuts don’t screw on easily, inspect and clean them up with your razor blade.
 Step 11: Push the finished assembly minus the bushing nut up through the bottom of the scupper hole. Use a mallet or hammer to push it all the way through to the top if necessary. You may need to clean up the molding around your scuppers if there is any excess material from the manufacturing process. I used a wood boring drill bit to clean up those holes. Sandpaper or a Dremel will also work.
Step 12: Dab some Aqua Seal or other silicone marine sealant on the underside of your bushing nuts. You can also dab some on the threads of the male adapter that are protruding out through the scupper holes.
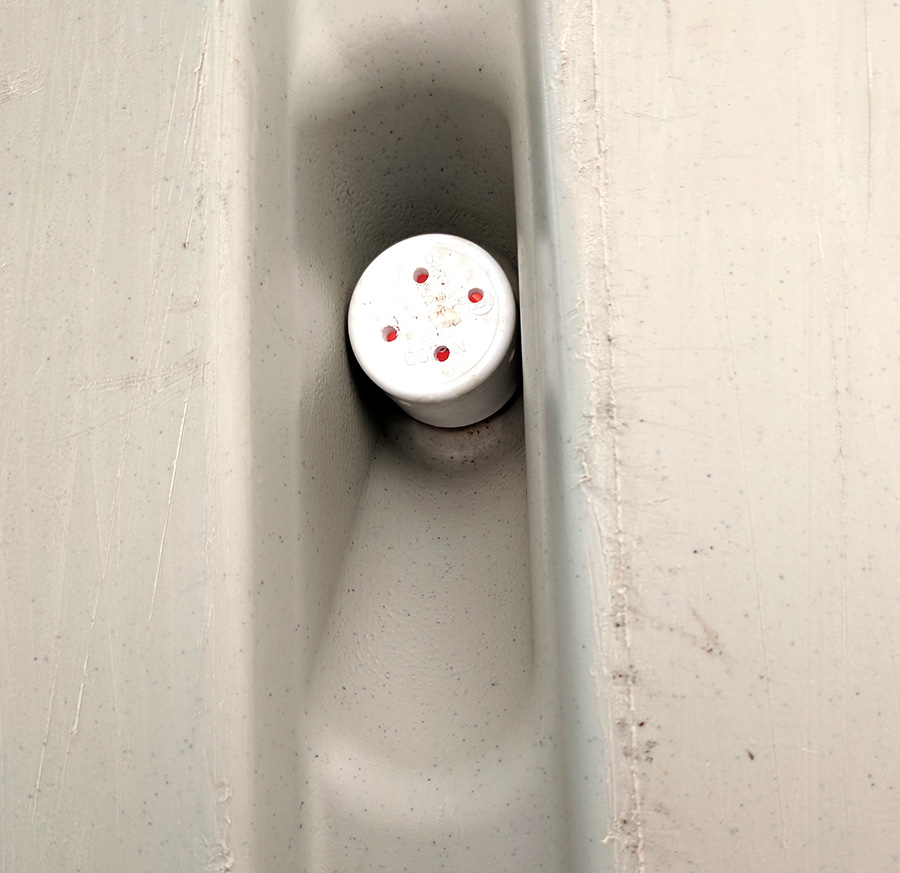
 Step 13: Screw the bushing nut onto the thread of the protruding male adapter. Use an adjustable crescent wrench or wide jaw pliers to tighten the nut onto the threads. The sealant will fill any gaps in the threads and create a seal between the nut and the upper surfaces of the scupper. Trim any excess threads from the male adapter at this time.
Step 14: Give your sealant some time to cure. 8 hours is usually enough.
Step 15: Enjoy a drier ride!